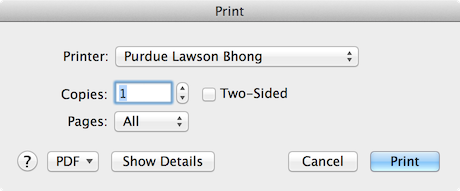
This is a short tutorial about how to access and send jobs to the printers on the Purdue CS Network using a Mac.
This is copied directly from the Mac OS X Help pages:
Mac OS X v10.5 or later
- Choose System Preferences from the Apple menu.
- Choose Print & Fax from the View menu.
- Click the + button to add a printer.
- Press the Control key while clicking the “Default” icon (or any other icon on the toolbar), then choose Customize Toolbar from the contextual menu that appears.
- Drag the Advanced (gear) icon to the toolbar.
- Click Done.
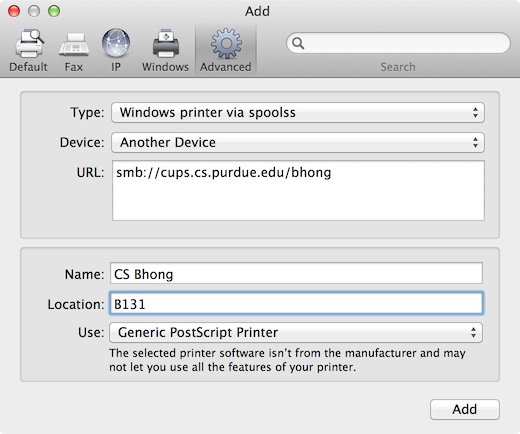
- Click the Advanced icon that was added to the toolbar.
- Choose Windows from the Type pop-up menu.
- In the URL field, type the printer’s address in one of the following formats:
smb://cups.cs.purdue.edu/<printer_name>
- In the Name field, type the name you would like to use for this printer in Mac OS X.
- In the Use field, choose ‘Generic PostScript Printer’
- Click Add.
